Horrific floods in Ellicott City - Maryland and walk-up walk-down basement drain problem
This past week, Ellicott City, Maryland had one of the worst floods in a long time. You can see some of the devastation that it has caused in this link. Fortunately, only my basement had a little bit of flooding. But interestingly, this has been the second flooding in over a month. This made me question the drain at the bottom of the walk-down/walk-up basement.
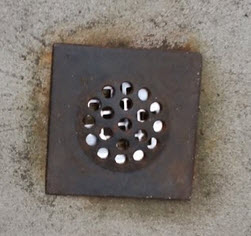
Here is a picture of the drain at the bottom of the stairwell.
 As you can see the drain hole not the best and it gets blocked with just a few leaves and dirt. I have been clearing the dirt and leaves regularly but when there is a storm, the water floods down from the adjacent wall bringing with it debris which end up clogging the drain hole.
As a first fix, I tried this from HomeDepot. It’s called a drain trap. (shown below)
 Again this was good but it did not solve the problem. So I decided to try something different. I needed a frame that was at least 1-in tall giving the dirt a place to settle around it and not flow into the cavity. I also need it to be sturdy where the weight of the frame keeps the mesh/trap down to the ground even in moderate to severe thunderstorms. I searched online for a solution and after spending quite a bit of time searching through blogs, I decided to build one myself.
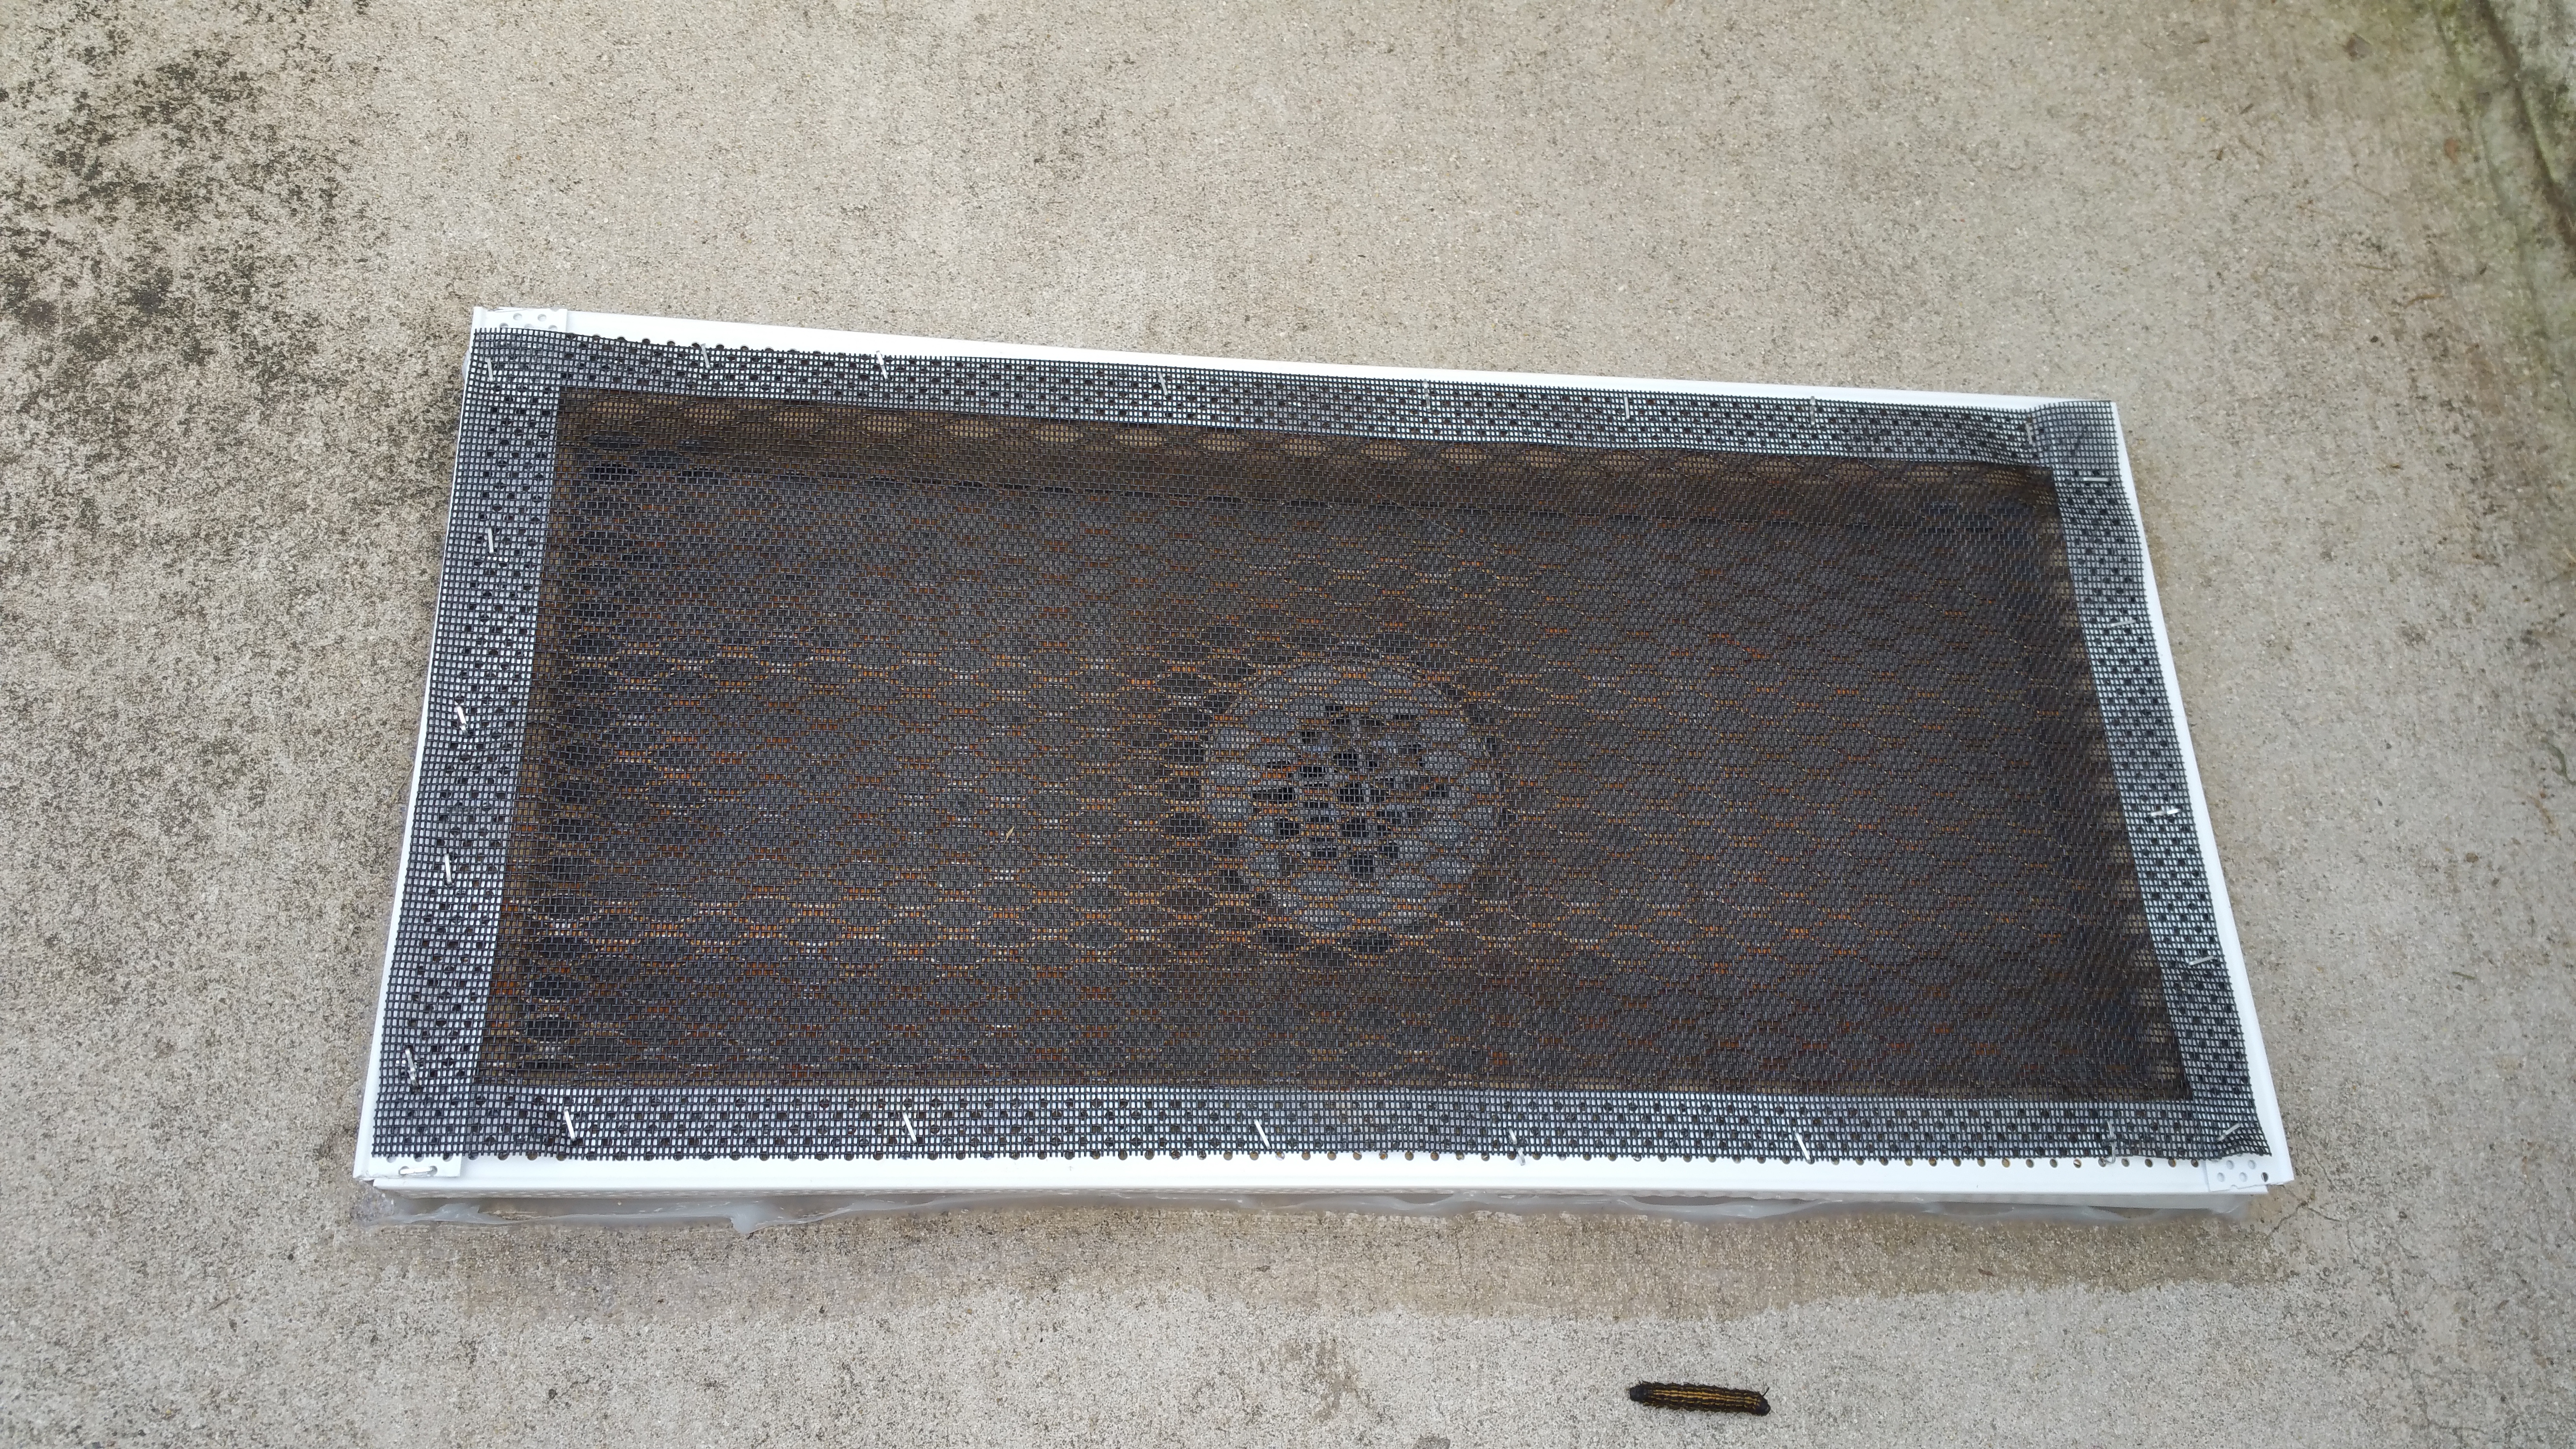
So here is the finished product:
Here are the materials I used to build this:
-
Chicken-coup mesh grill
-
four L-brackets
-
two tree stump posts cut to the size of the chicken-coup (to create a 1in thick frame)
-
Long plastic corner bead to keep the grill corners from cutting into me with rust over time
-
outdoor screen plastic to to add a second layer of filtering
-
Staple gun
-
Silicone used for household seals

Here is the frame upside down. It’s basically the wood is framed in against the chicken coop metal grill.
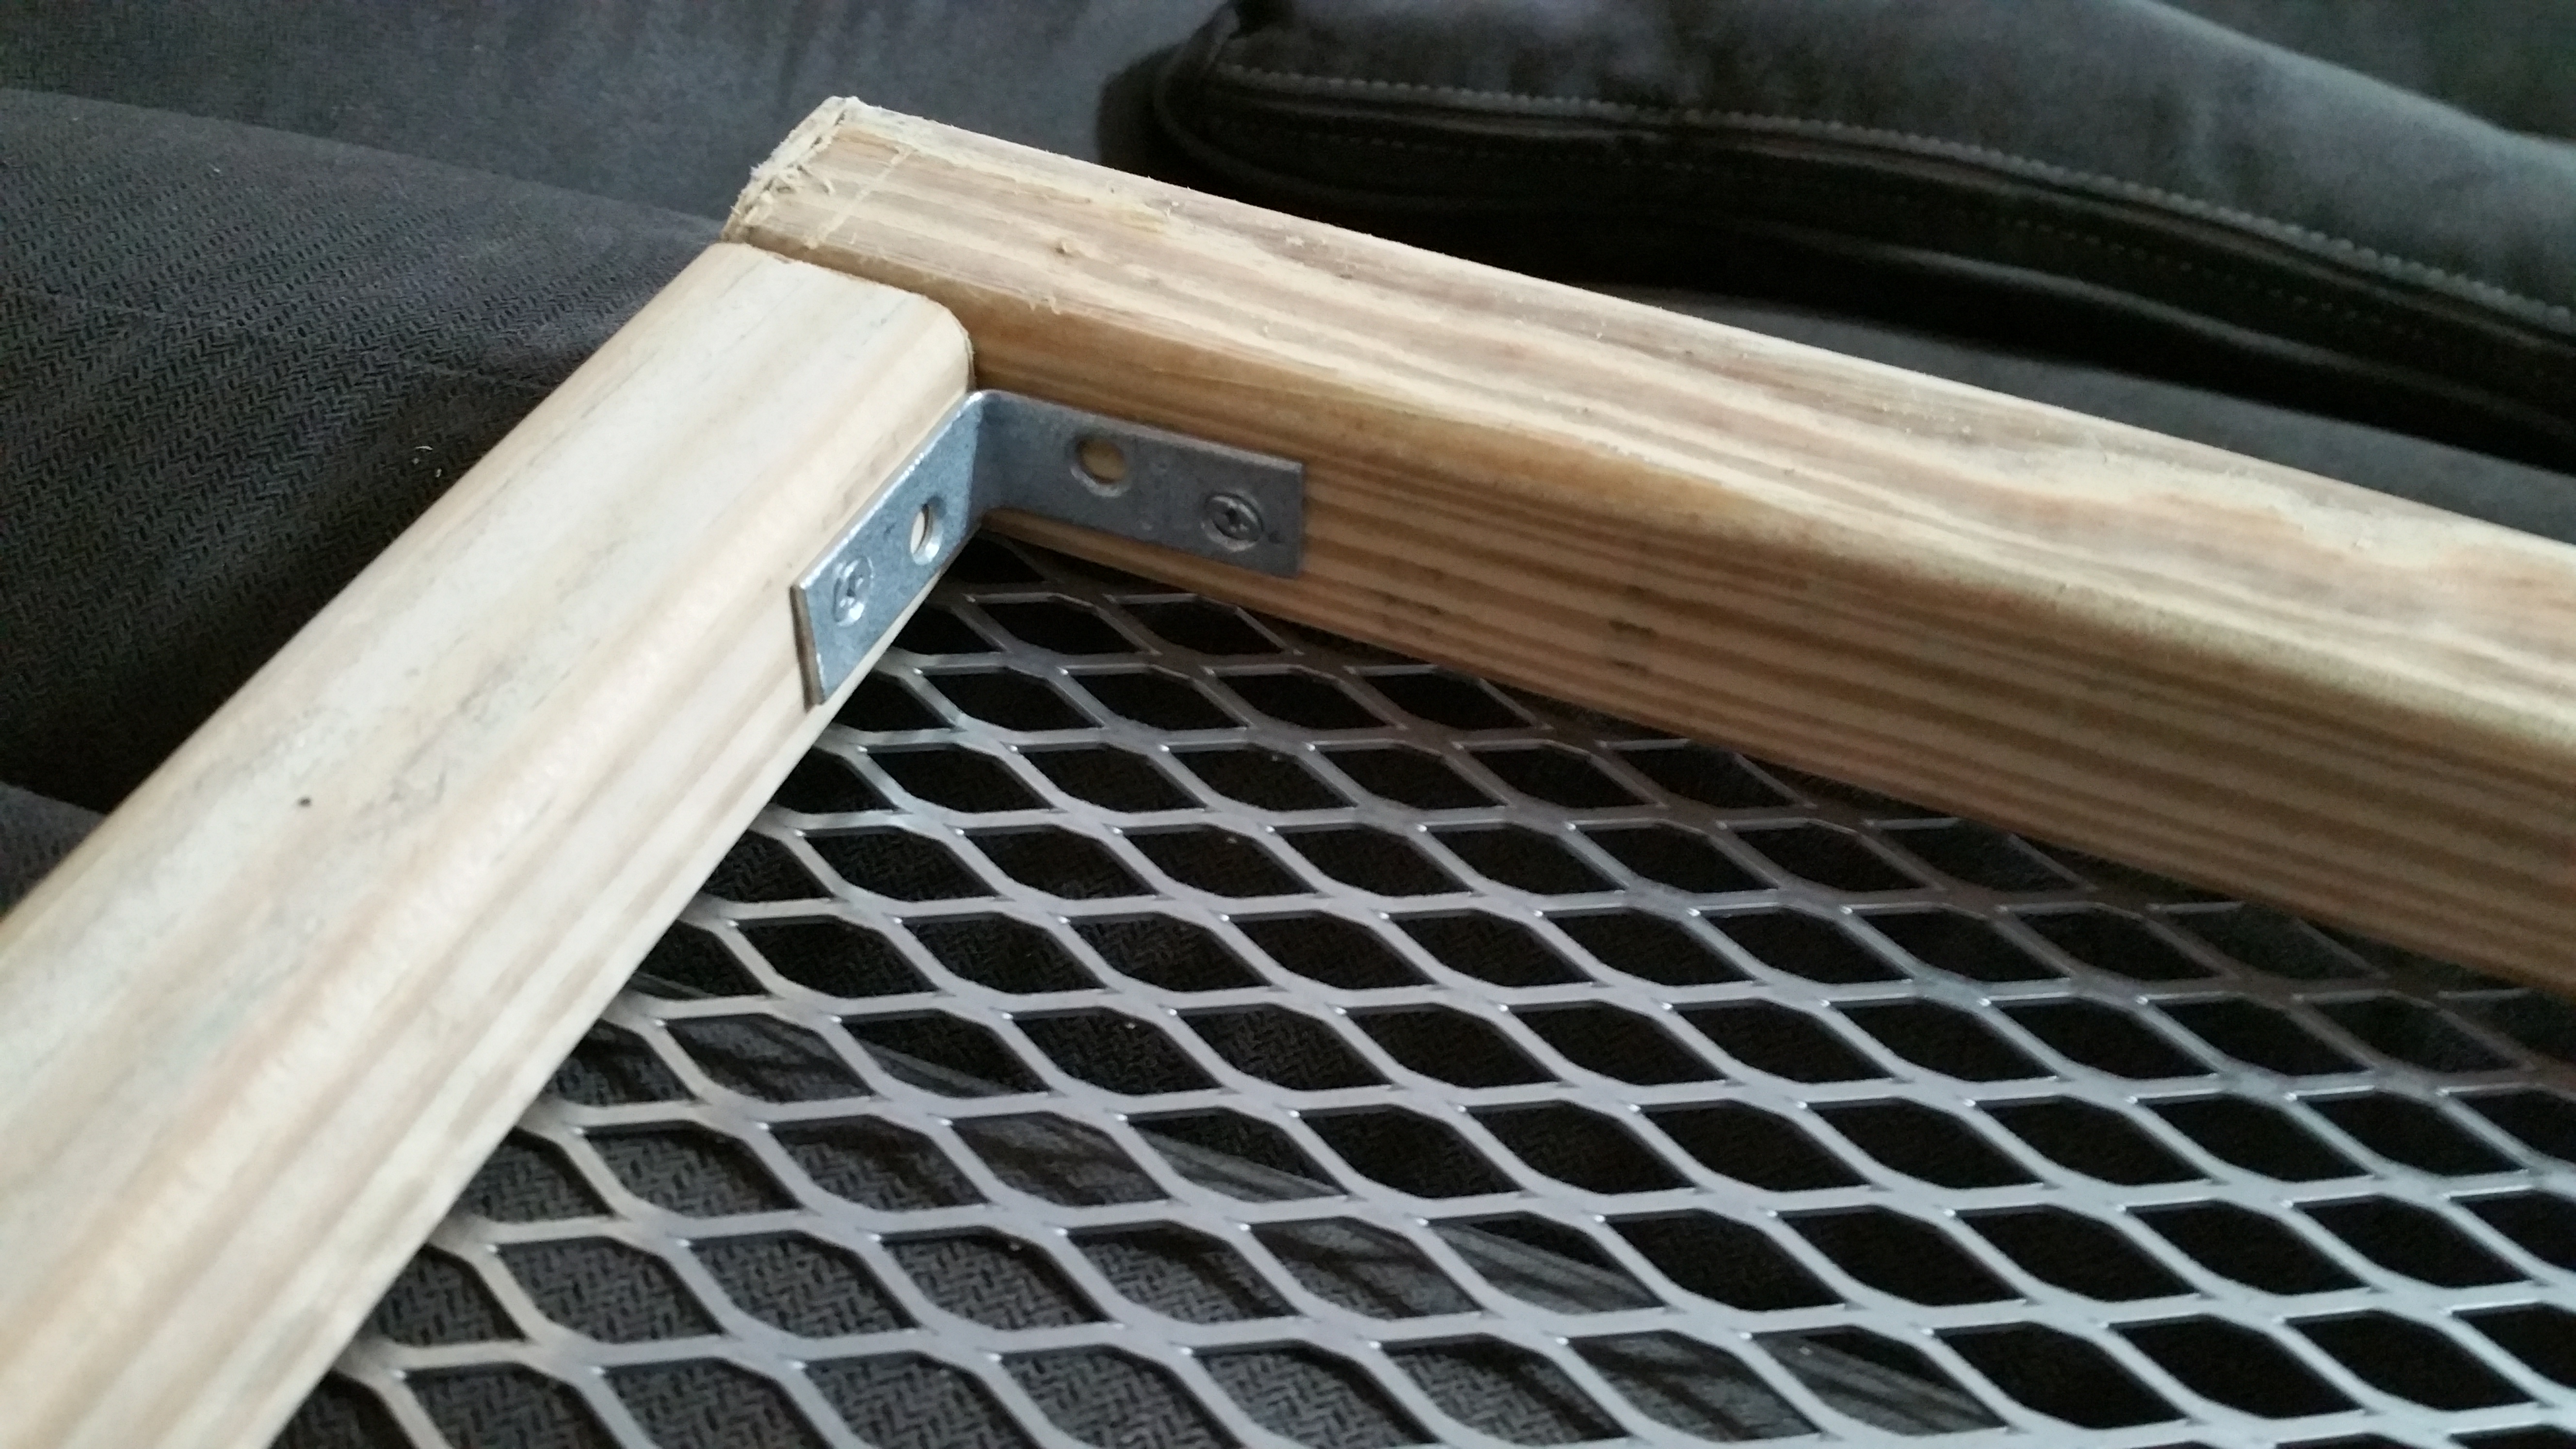 Corners are bracketed in to keep the frame together.
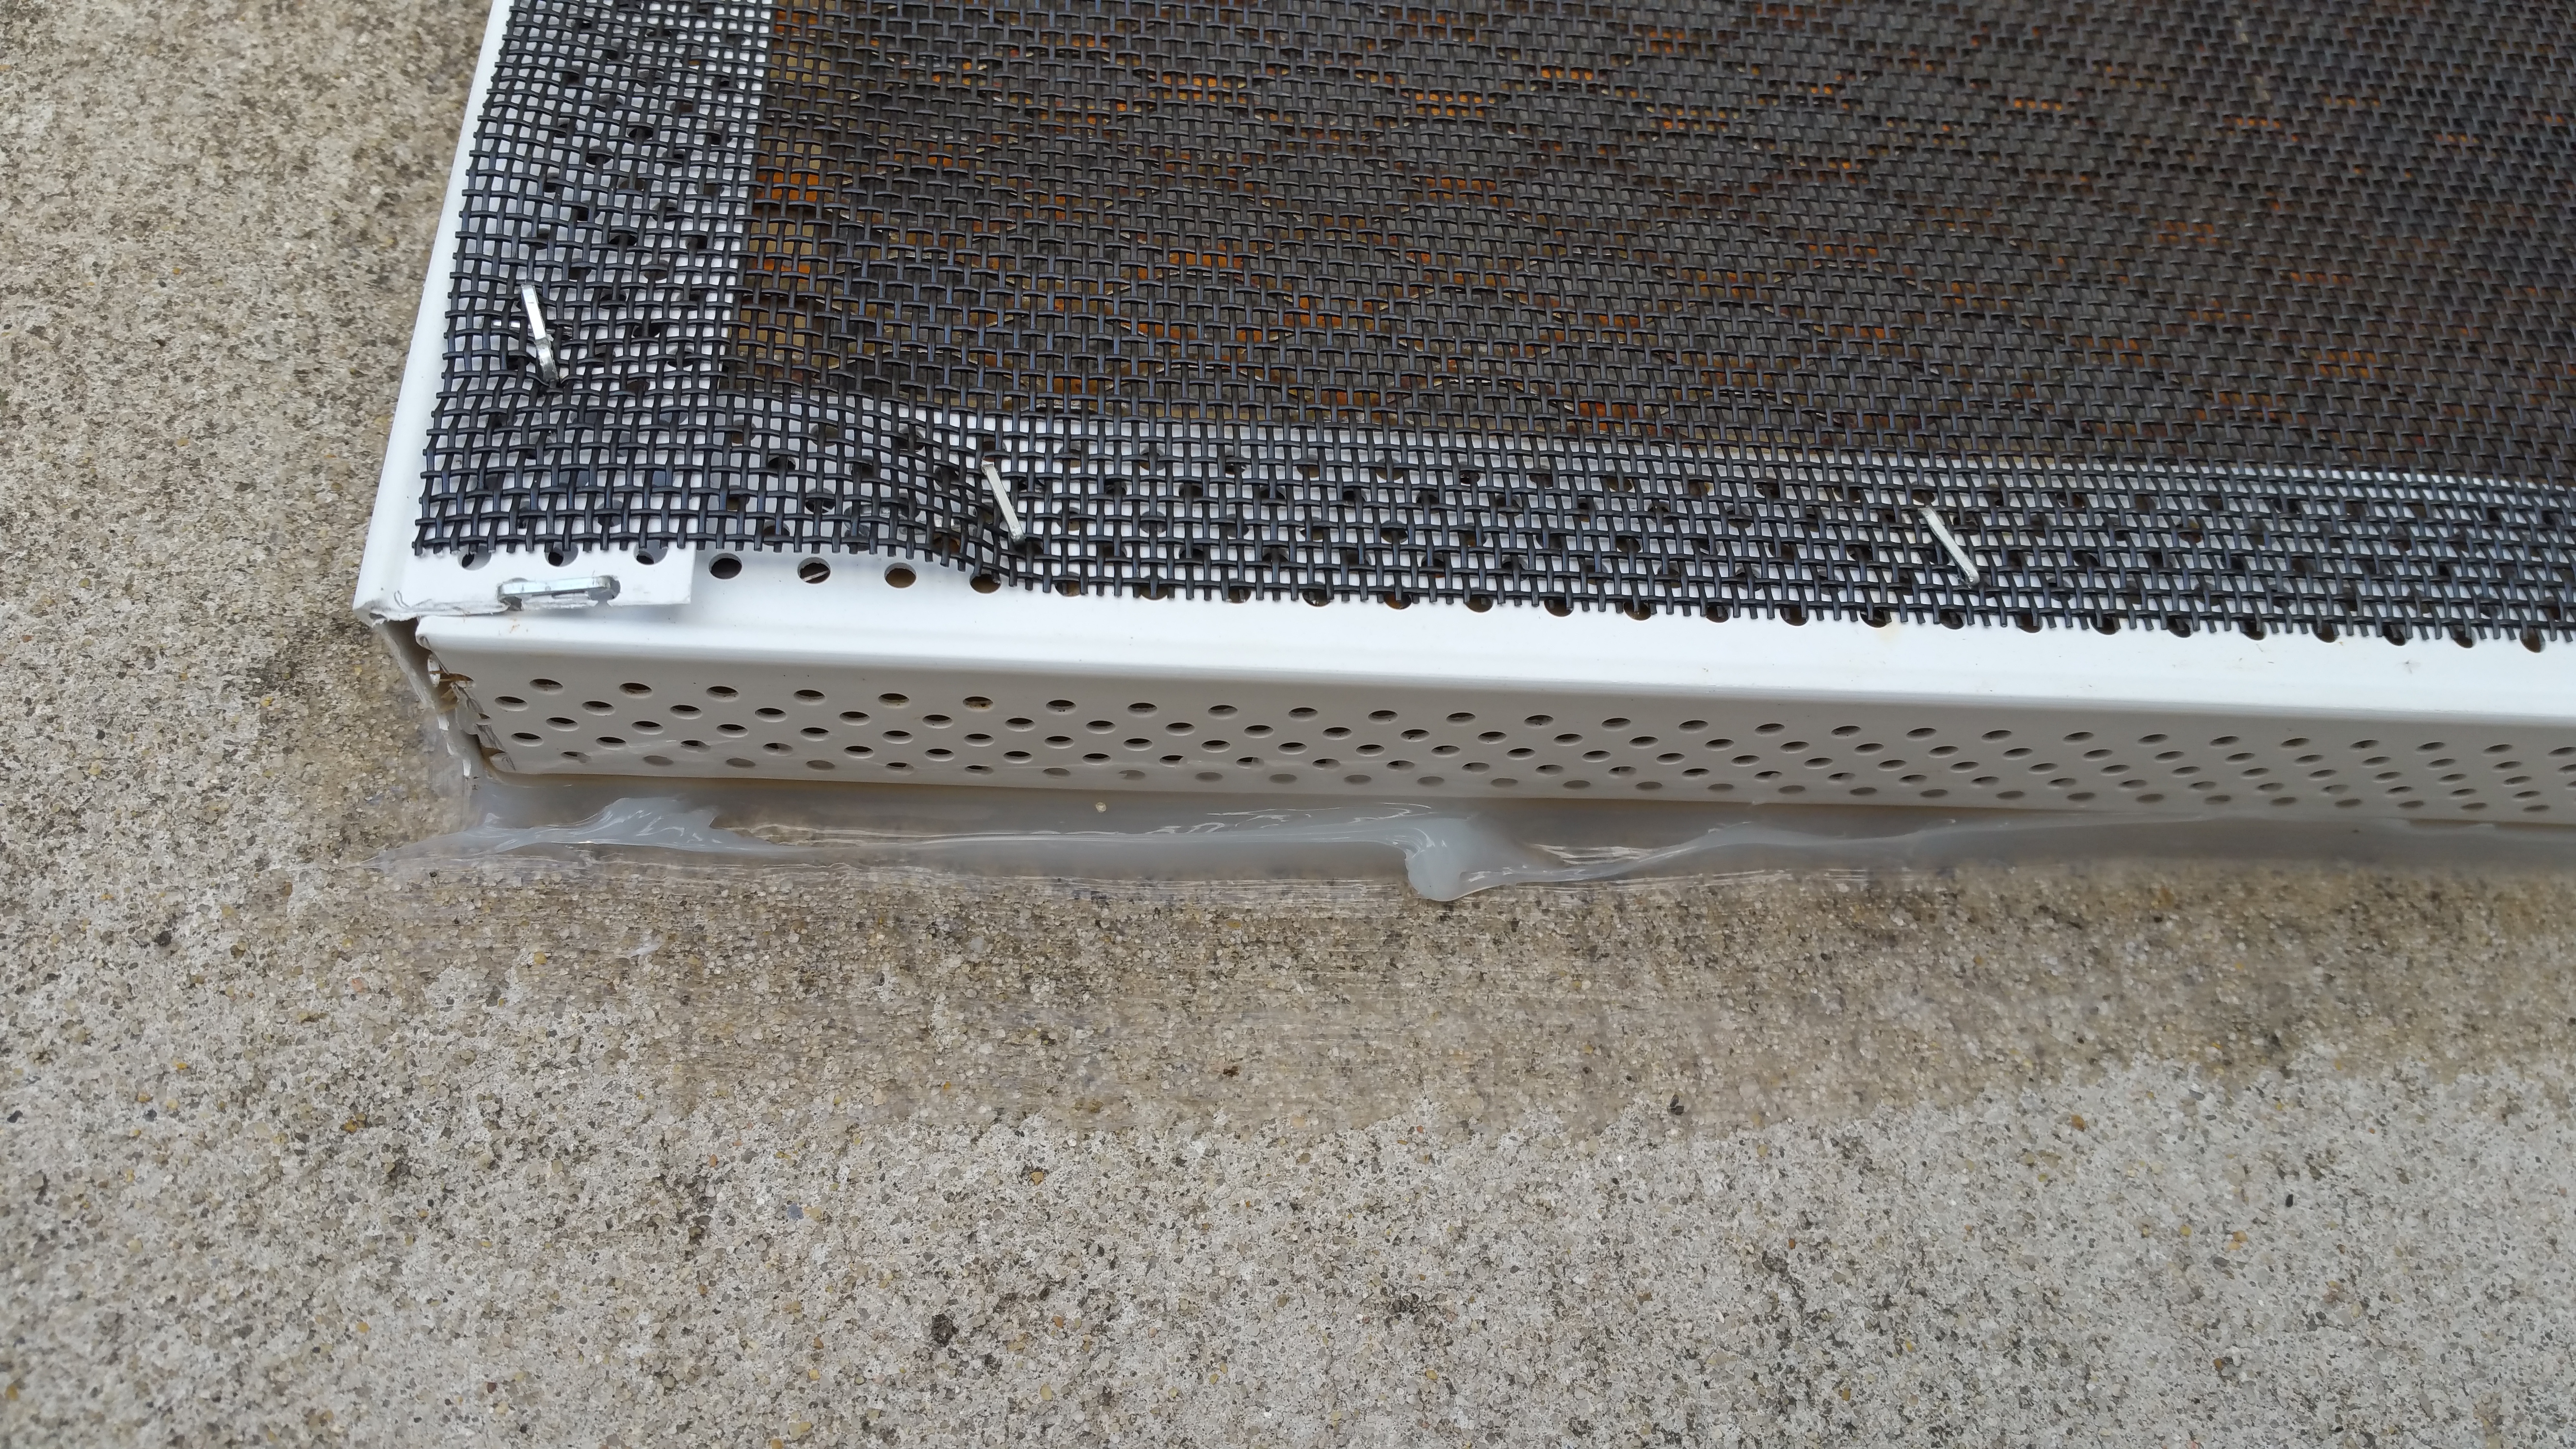
Added the finer outdoor plastic screen-door screen on top and kept them together with the staple gun. And the last step is to create a seal between the pavement floor and the frame.
And voila a gutter guard (that can hopefully withstand some rain). Keeping my fingers crossed.
I will keep this blog post updated as I improvise on my custom made gutter guard. Hopefully others can follow this blueprint and build their own gutter-guards.
Cheers.